
Check out my other post apocalypse terrain on this hub.
For years I've been putting aside junk, broken toys and bits for when I would get around to this project here.
I've put some step-by-step words at the end of the blog. But first some photos of the finished scrap piles.
Finished junk
This pile of junk has wheels from a broken tractor toy, a big chunk of miscast resin from Ramshackle Games, 'feet' from store shelving, sprue and jewelry chain.

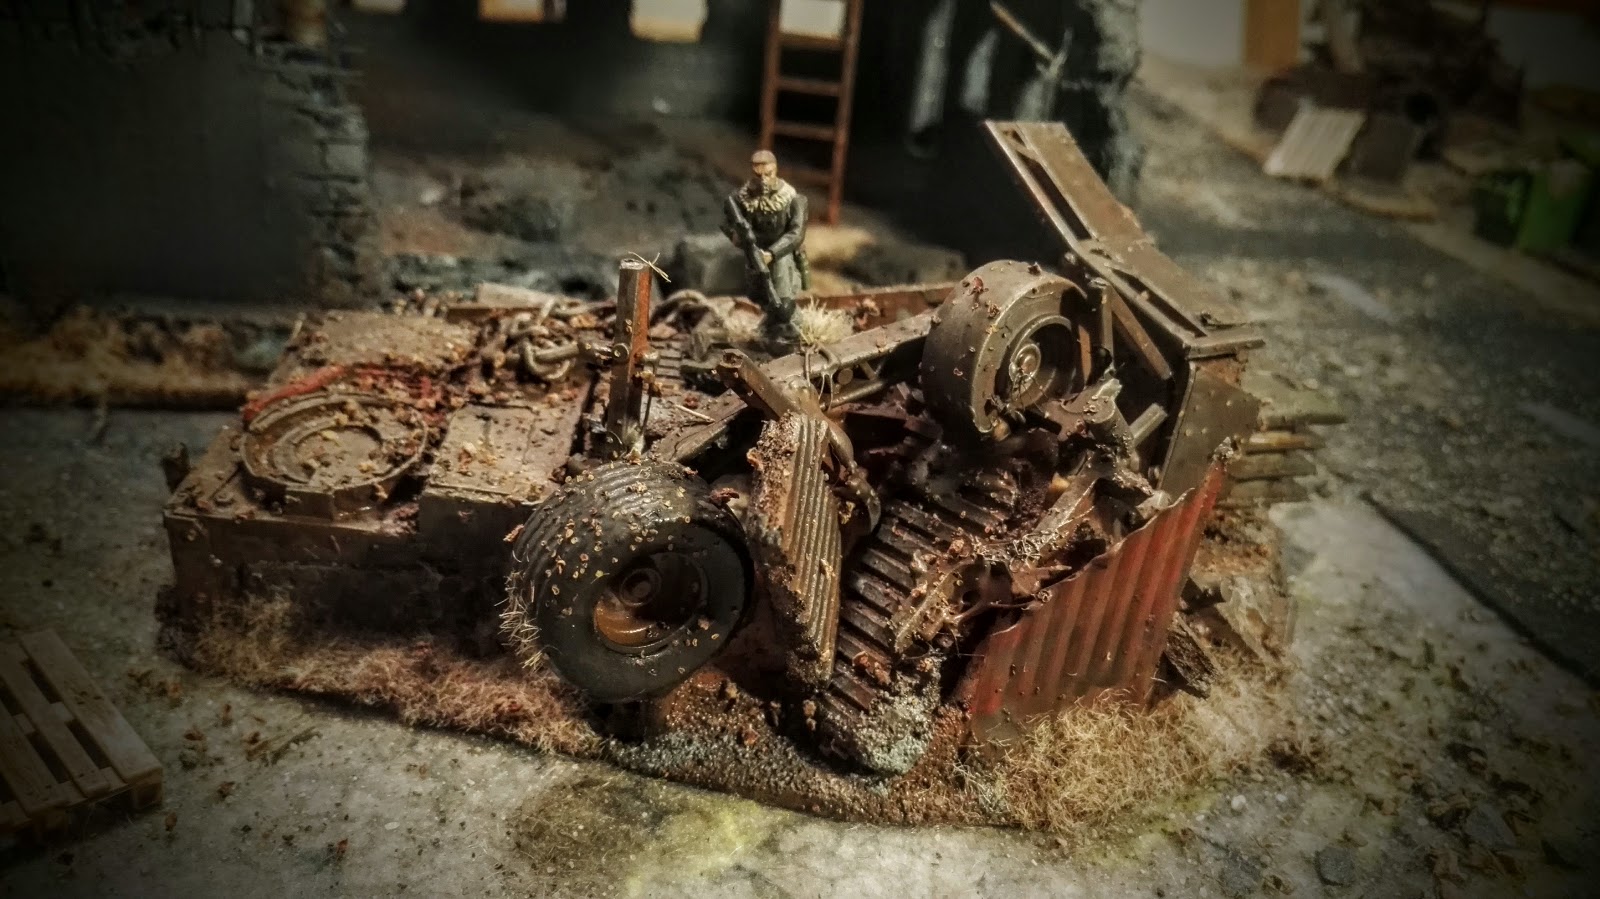
Here's another piece of ramshackle resin, toy car wheels, corrugated cardboard (made with toothpaste squeezer), broken model ship parts.
Gears from an old clock, sprue, insulation foam, store shelving 'feet'.

A lid from a yogurt, toy car wheels, insulation foam, sprue, plastic pieces, super glue lids.

A crane from a broken tractor toy, yogurt lid, insulation foam, wheels.

A fertilizer tank from a tractor toy, chain from broken jewelry, corrugated cardboard, insulation foam.

Step-by-step
Cut some large bases for the project. I've used strawberry boxes scavenged at a stores dumpster. Easy to cut mdf bases.
Cut out some block of polystyrene or other foam. These are to fill out the junk piles and save on the junk.

Using wood glue, glue all those polystyrene block to the bases. Try to make some good flat surfaces with room for models to stand on. Also glued those resin miscast pieces in place.

Using a hot glue gun and wood glue, add a lot of junk to the bases. I've been using broken toys, glue lids, yogurt lids, cut up jewelry from flea markets, lots of sprue. It'll all work.
I've also used some insulation foam for floor boards. It's really cheap, won't melt from spray paint and have a corrugated look. Also made some corrugated plates with a 'toothpaste squeezer'. Super cheap tool from ebay.


Sand up the bases. Using wood glue, add sand to the bases, some part of the piles etc. Just go all in with the glue, it'll strengthen everything nicely. And the sand adds some texture and hides some of the polystyrene filler we haven't covered.

Painting
Using different nuances of cheap brown and grey spray. Cover this terrain up. Then with a dry brush you can quickly pick out some details. A box, lid, wheel, plate here and there. Then a all over dry brush layer of metal color. It's supposed to be quick, no need to waste time on a junk pile.
Cover the entire thing in a thick layer of army painter quick shade. Soak it. It'll look like nice pools of grime in some places.
Take a handfull of garden debris, whateever dry stuff. Leaves, seeds and twigs. Crunch it up and drop it in the still wet varnish. It'll soak into the varnish and stay in place for good.
When dry after a day of two, hit it with a cheap matt varnish spray.


No comments:
Post a Comment
Note: only a member of this blog may post a comment.