Showing posts with label Green Stuff World. Show all posts

4 May 2024

Vikings: Bondi

For the viking mega game, the base warrior was the bondi. Comes from the word bonde - that means farmer. The simplest guy just taking on a bit of a raid. they also have smple weapons and no armor. 

To make variery (Victrix have the absolut best heads) I've mixed Wargames Foundry, Gripping Beast and Victrix. The bondi also have hats or bare heads on half the miniatures, to show the low quality. 

Check out all the different post in regards to the gamification teaching project here.


A lot of the archers are made from gripping beast dark age archers - a really old and boring kit with a few monopose sculpts in it. After I had bought miniatures for the project, Victrix brought out their excellent dark age archers (also comes with slings and a few melee options) - for the same price. Oh well. 


I made sure to incorporate as many victrix bits into the mix as possible, because they have way better details and size. 


In the game, the teams could buy the bondi from the beginning. They required simple weapons (a ressource made from wood and iron) and wool. They also required only simple food ressources for upkeep. 

The combat system is a simple which 3 lines system. Axemen have best first line attack, and decent defence. The spear guy has worse attack in front line, but can also attack from line two. The bowman can't defend himself, but can add attacks from the third line. The bowman can also hunt ressources on the main board, gaining furs for the team. 


The ressource exchange. Fur is made from cow, deer or reindeer. Used for ships and warriors. 

Simple weapons are used for Bondi and Berserkers. Made from Iron and Craftsmen. 


And here's photos of the painted bondi. There was six teams. So there's yellow, green, red, orange, purple and blue. All have various shield designs and nuances. An easy way to add some detail, while remaining easy to spot teams in the game.


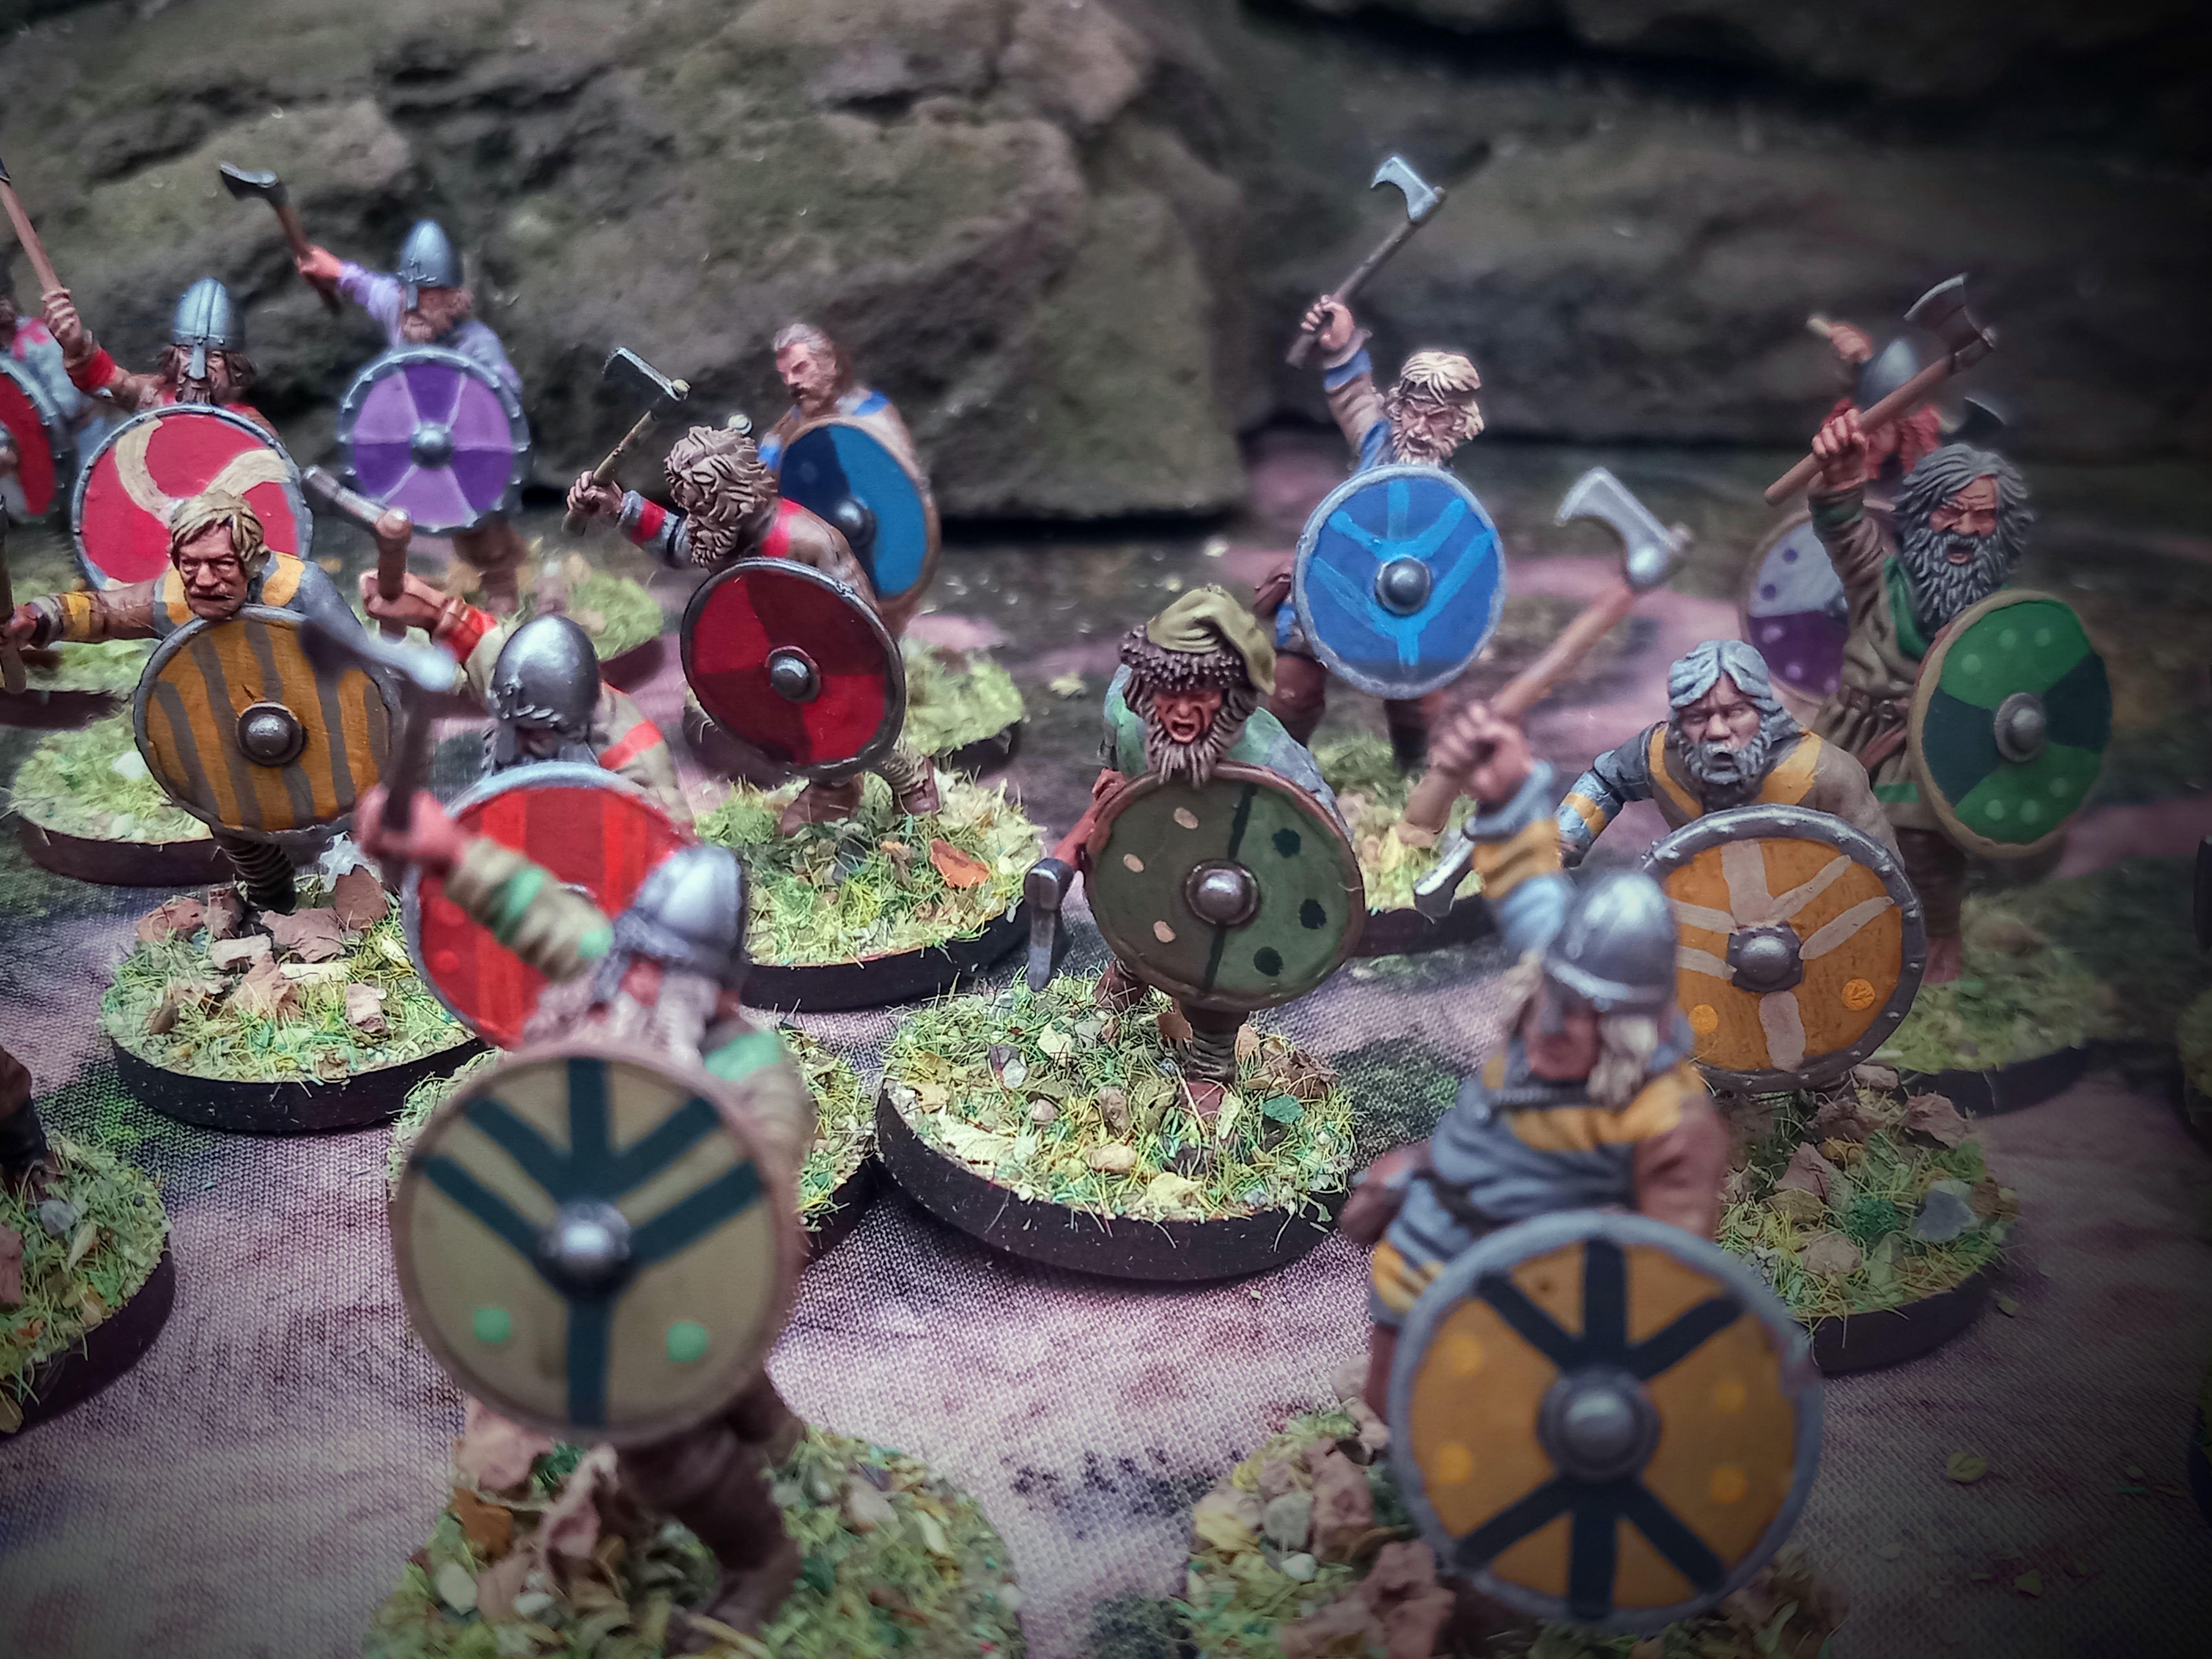


And here's some photos of the Yellow hird, 36 pieces strong. 


4 April 2022

Guilders: Crowd Bases and cobblestone

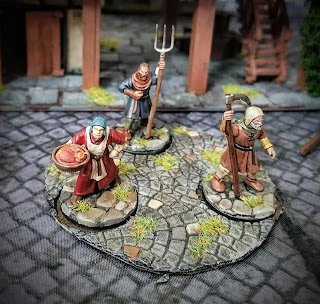
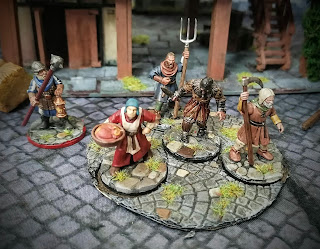
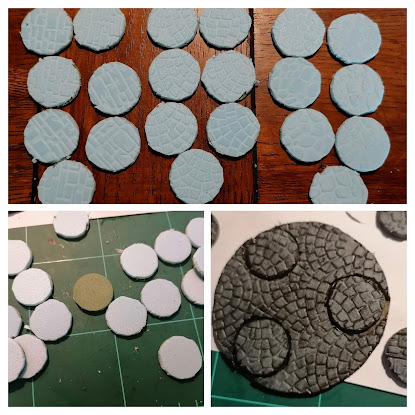
 Here's a tutorial style post on how I made my crowd bases for Guilders. In the game the crowds are represented by a 3" round base. There's no rules as to how many miniatures should go on it, but I've made room for three.

When painting these I've drybrushed some different greys, picked out a few individual stones on each base and then added small bits of static grass.


Here's a guard totally unable to find that hiding thief! 


Materials
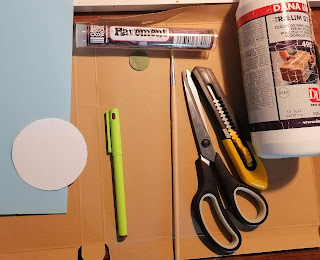
Cardboard, XPS foam (1 or 2mm), paper, Green Stuff World pinroll and pva / wood glue. 


Step 1
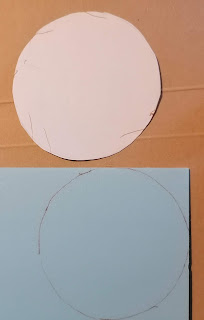
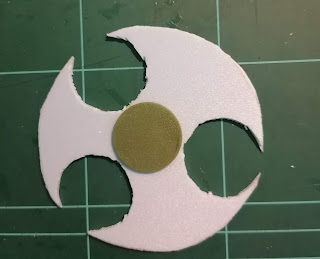
Cut a 3" round circle and draw it onto the XPS foam.  Cut those out with some scissors. 


Step 2
For stability, I want to make inserts for the miniature bases. They're all based on 25mm bases, so draw three on it's large 3" base.


Step 3
Cut out those 25mm inserts with a fresh hobby knife, needs to be really sharp. This leaves room in the middle of the crowd base for another miniature, if a player character enters and hides in the base.


Step 4
Glue. Lots of glue on the 3" bases, but on some thin cardboard and put pressure on it while drying. I placed a ton of books on top, we don't want them to warp too badly. 

 
Bonus Step
Mess up some 25mm round bases with a knife (for better grip) and glue all those 1" discs to them. We don't want any waste! 


Step 5
Time to bring out the Green Stuff World roller. It'll keep the presured texture made in the XPS foam. 

 
Step 6
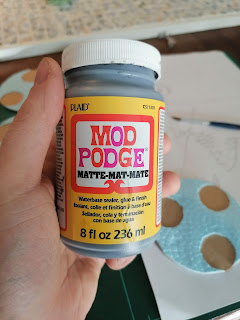
Mod Podge is amazing! It's some kind of varnish / glue thing. I've mixed some black into mine, so that it now dries a very dark grey. This will seal and harden the foam very well. I can't recommend this stuff enough for anyone working with foam. 


After a nights work I have a bunch of finished crowd bases and a lot of 25mm bases for future miniatures.


25 May 2021

Cyberpunk Psychic and Christmas Sniper

 For Hardwired you only need 4 agents on a team. I've decided that if some of my agents die, I have to paint up a new one. This psyker model is from Endure the Stars (that I scored for cheap and flipped to make it free). It's a pretty cool model, decided to go for bright cyberpunk colors. 

The base is a first for me, it's made with a greenstuff world rolling pin on 1mm xps foam, glue to 1 mm renedra base. 


Over on the Discord server there's a lot of cool people. For Christmas we had a miniature secret santa. Members made a wish list for settings, then got a random member to make a wish come true. I made the below miniature for a guy wanting something scifi. 

It's a kit bash. The body is a Gate of Antares concord model, the head is a resin bit from Anvil Industry. The augmetic arm and gun is from a GW necron. Added a drone from a GW mechanicus head with some twisted wires. The pointing finger is from Mantic GCPS. 

I really like the look on this guy, kindda envious and might build him again. 


A final word

Please consider helping out my bloggerverse and its reach.
Like, follow, share - and all that stuff.

Facebook.com/BloodbeardsGarage/
Instagram: Bloodbeads_Garage
Twitter: @Blodskaeg
Twitch: twitch.tv/bloodbeards_garage
Youtube: https://www.youtube.com/c/bloodbeardsgarage
Podcast: https://anchor.fm/bloodbeardsgarage


Join the Discord. It's an excellent community with lots of hobby stuff (not just mine): https://discord.gg/xwcRSs7

27 January 2020

Terrain: Trash piles

I want my cyberpunk board to look worn down and slummy. So I've been meaning to do some trash piles that would also add some easy detail to my various post apoc boards.

TTCombat makes some excellent and fairly cheap resin kits with 'backyard scatter'. But it would be too expensive to make the amount of bases I would like.

So I've taken some Green Stuff World blue stuff and made molds of the resin bits, then I've cast extras with plaster. This is super duper cheap and you'll get 5 kg for 12 Euro. And so I had extra trash cans and garbage bags quickly.

Glues the bits to thin plastic card and cut them out.


Detailing
I base coated the piles with grey spray and picked out some different details on the bits. Then I gave the piles a heavy layer of brown wash.

Then add extra details to the base with printed news papers, torn up toilet paper, pieces of black plastic and shredded cork pieces.


'