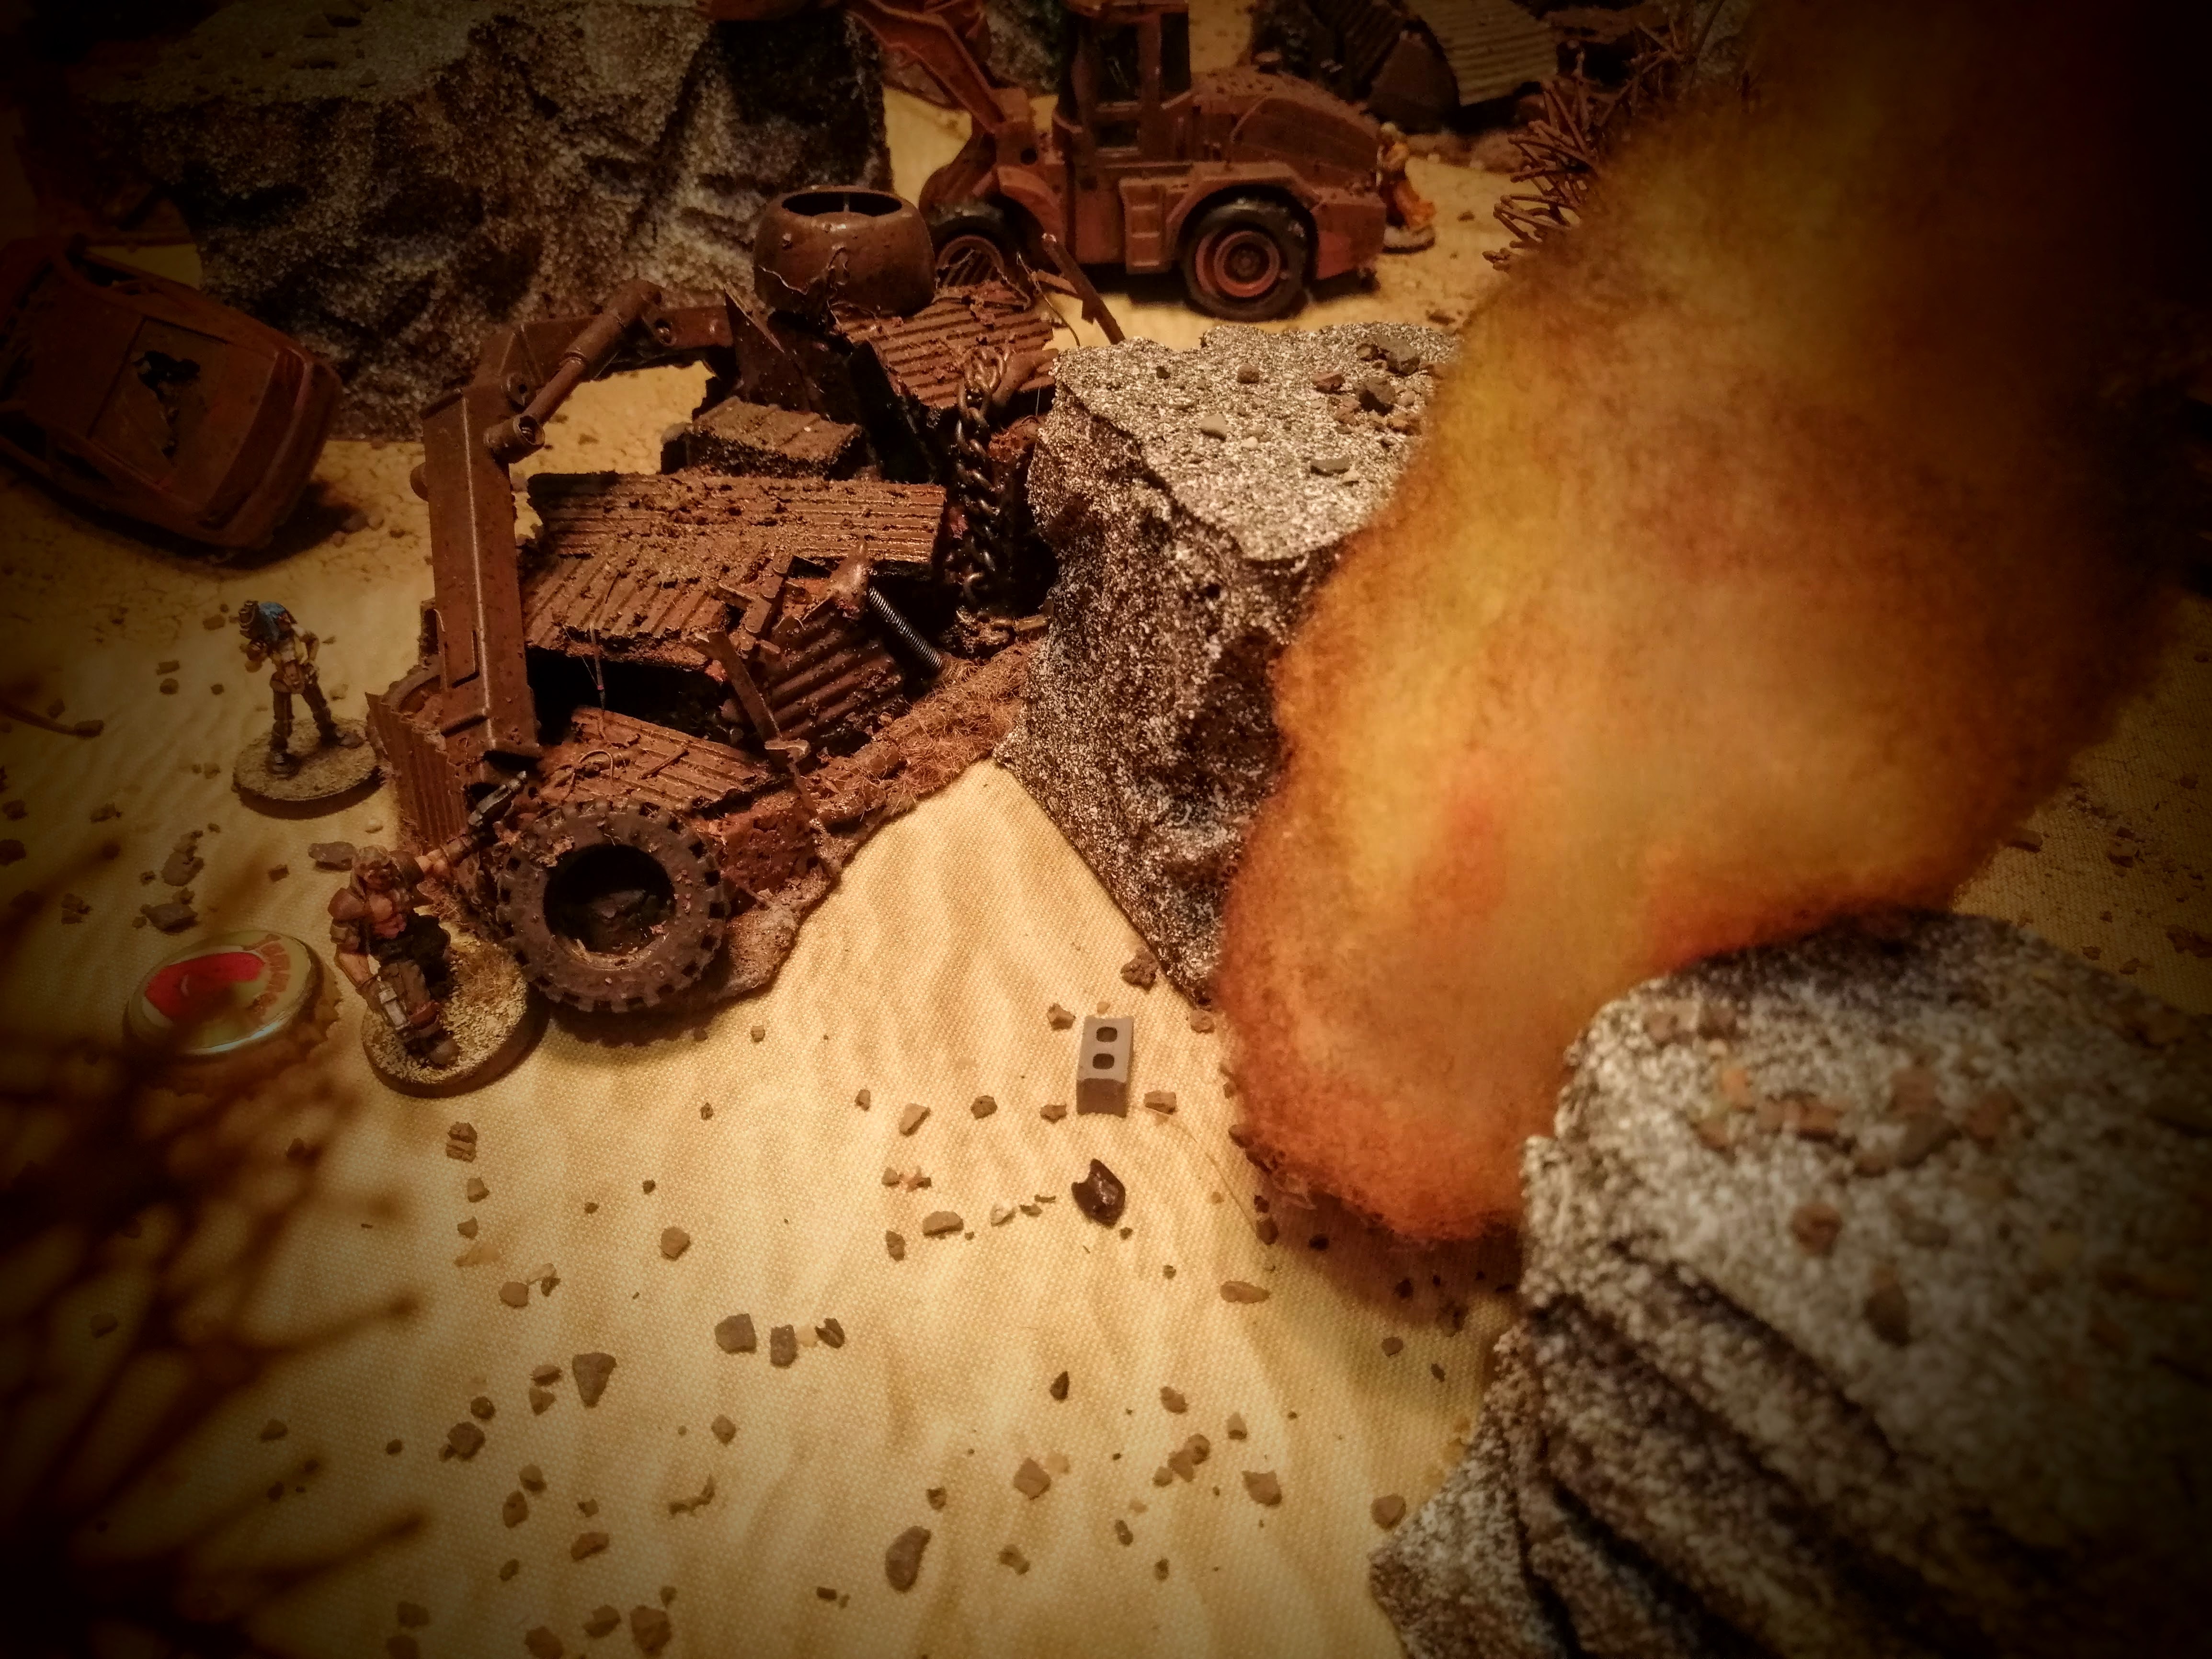
No one knows have or when the temple was destroyed, but the Dricheans don't go there anymore. It's the lightning you see, that power. It's been doing something to all them sailor corpses in the area - they're living dead. Lurking there, under the shallow waters, grabbing at anything alive - or just wandering around the flooded temple grounds.
You Sirs are great big fools to go there. Sure there's treasure! Lots of it! ... But at what cost? Those corpses will bits right through a wet leather boot like it was butter..."
Swampland
For our third game of Frostgrave: Ghost Archipelago our crews are going into the swamplands. The last game we played were on an island, so we skipped the suggested setup and went with a lot of rivers instead.
We setup a lot of temple ruins around the battlefield as well and our Ulterior Motives turned out to play right into the story. The Swampland scenario see a lot of zombies wandering around the board. At the same time my opponent had an Ulterior Motive that would summon even more zombies and give extra XP for killing them.
My Ulterior Motive was about a pillar calling down lightning at random on the battle field. So that's how the story of an ancient temple, where lightning reanimate the corpses came from.
Being the third game in the campaign, I had already made a trip back to the mainland. Selling all my loot an bringing onboard some great reinforcements. A bosun and topman instead of some regular crew. Two hunters to battle all the dangerous fauna of the jungle. Lastly a swordmaster to bodyguard my Heritor - Hector Fernandez Rodriques Gonzales.
My opponent having saved his cash, was a specialist down from the previous game - so I figured this would be a cake walk.
Setup
Both the crew were going to start in small boats for this scenario. A quick and effective way to get into the center of the board fast, secure those treasures and get out of the swamp.


My crew went first and wasted no time in moving up a stream and disembarking right away. The sailors in the first boat quickly split up, moving onto two different islands to grab some treasure.
The bosun and swordmaster moving towards a treasure. My Heritor is staying in cover of a ruin. He's not as fast being covered in heavy plate mail.

The last member from the first ship. He's counting as a regular crew member, but in my mind this is actually the captain of the ship. My Heritor is a fighter, a leader of men in combat, not a sailor.

The enemy always using a small boat to get into the center of the board fast. The heritor and a men-at-arms bodyguard. This boat also brought an archer with them and the Heritor is carrying a crossbow. That's why my own Heritor is staying in cover of the ruins.

Another part of my opponents crew, taking another route into the swamps hunting for treasure.

This is what my crew is after, harvesting the power of the Arcane Pillar calling down lightning. My Heritor and Warden will get some great XP if they can get close to the pillar, without getting hit by lightning.

Another part of the temple is an old sacrificial pit - probably filled with snakes as well! This is part of the set of Ulterior Motive objectives I've build for the game.

Safely in cover in the shrub, protected by deep water in the river, this archer would spend the entire game shooting arrows at my crew - not being able to get across to her - constantly having more pressing concerns.

A swamp zombie emerges from the water, close to the lightning pillar that's the cause of the reanimations.
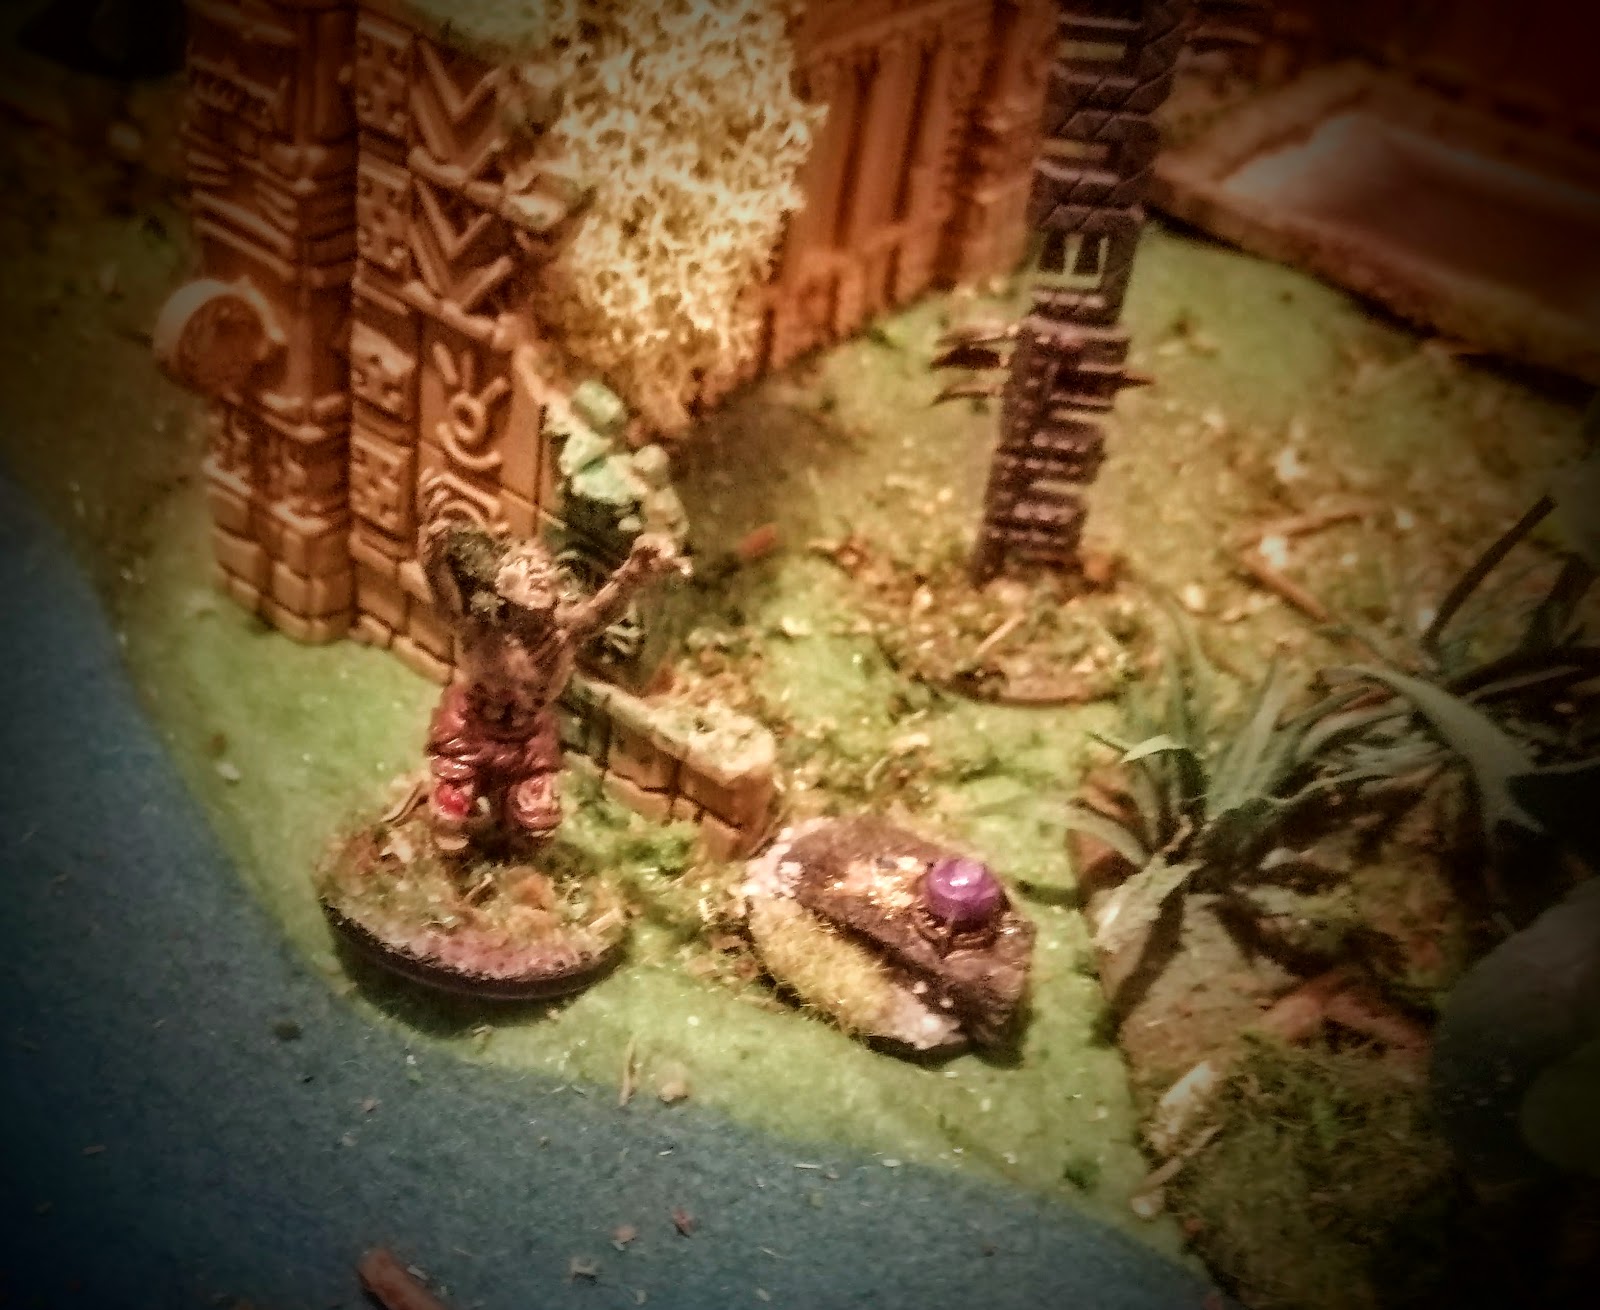
An ability of my Heritor is wraith walk, the strongest of the abilities he's inherited from his forefathers. Phasing out of the material plane and into the spirit realm he can easily cross the dangerous waters. And with a swing of his mighty two-handed sword decapitates the swamp zombie. Close the the goal and the lightning pillar in the second turn of the game.

The swordmaster and bosun securing the first treasure for the crew, the enemy archer mentioned earlier is just across the river, behind the visible tree.

Quick on his feet the newly hired topman sprints past the ship captain an engages another swamp zombies.

The ancient temple is filled with treasures left by the Dricheans when the disaster struck and ruined the entire complex.

Having taken their time, staying in cover and taken a few shots. Now the enemy heritor and the men-at-arms are prepared to pick up some treasure for themselves. There's some zombies close by.

The enemy beast warden summons a random monster to the battlefield and with great success. A dangerous tiger enters the swamp. Now the enemy gets to place the model on the board - and with so many ruins it was no problem placing it fairly close to me and covered from line of sight. A great opponent, sitting in the best route out of from the swamp.

My heritor and warden were greedy, was hoping to get near the lighting pillar quickly and the return to complete saftety. But I completely miscalculated how fast my opponent could be. Winning the initiative, sailing close to me by the river and disembarking straight into combat.
Suddenly my warden is attacked by two crew members and a savage is quickly closing in.

While there's a lot of combat and getting into position for it at the center of the board. Over on the right side of the battlefield then enemy beast warden is sneaking through the jungle - slowly getting closer to an arcane disc. Somehow it's tied to the zombies being raised in the swamp and there's good XP for the warden - if she can figure it out.

In the swamp, any wandering monster coming from picking up a treasure is another swamp zombie - very fitting for the story. And a zombie burst from the shallow muddy water and attacks the men-at-arms protecting an archer.

The battle at the lightning pillar is brutal. And in the battle it's completely random who'll get struck by lightning every turn. An enemy crew member is taken out with a zap and my warden has a slightly better chance of survival. Meanwhile my heritor have engaged the savage in a duel.

Near the arcane circle my topman is closing in on a treasure, but is facing both enemy crew and summoned venomous flies - super nasty critter. Finding yourself with only a single activation point is devastating for a model

Roughly half of each crew is tied in combat and only a few members are free to pick up uncontested treasures. An enemy crewman use the fact that zombies are slow and stupid to his advantage, climbing some temple ruins to safely pic up a treasure.

My bosun and swordmaster have picked up some treasure and in an attempt to keep them safe, my Savage attacks the tiger. He could use himself a new cloak and gets ready to bring it down along with a swamp zombies.
But things turn bad for the savage and he's ripped apart by the angry beast!

A crew member of mine have spend a long time crossing the river near the lightning pillar. Despite being unarmored and lightly armed he kept failing his swim roll, he even took a lot of damage doing so. Picking up the central treasure, he hops to make it back to a boat and safety.
I have no crew members left to sail to his aid, everybody is tied down in combat ... fighting for survival really. The crewman never makes it to the boat, he drowns in the swamp. I figure zombie hands grab him from below an pull him under - not sailor would naturally have that hard a time crossing some water.

Back at the arcane circle both my topman and the ships captain have been brought down by enemy crew and the summoned flies. Desperate to get some treasure, to make up for my losses, my hunter moves in. But even he fails to take down the enemies and they secure the treasure themselves.
Meanwhile the enemy beast warden have made it to the arcane circle, scoring a load of extra XP, but summoning even more swamp zombies to the battlefield. The place is getting crowded - and my troops are falling.

Hungry with growing power, the beast warden of my enemy have gotten important knowledge and strength from the arcane disc.

My warden was tied up in combat for most of the game, from a mistake on my part early on. At one point he did however manage to summon a crocodile to the swamp - a big one. Also getting in close to the enemy, hidden in a ruin.

My heritor didn't fair well - and the enemy savage turns out more powerful than my own. He brings down my heritor Hector Fernandez and jumps straight at my wounded warden.


The lone survivor, spending his last turn to run away from the tiger, already smeared in the blood of my savage. ... a poor end to the game.

Aftermath
That was a bloodbath! The bloodiest. ... One of the games where everything went bad for my crew. Not everybody will make it in the Ghost Archipelago and this is a story like this.
While my opponent got out with all the treasures and a maximum of XP on both his heritor and warden - my crew was broken.
My heritor died from his wounds. So did my savage. My crew having only a few gold coins, must use everything they have and sell every item to get back to the mainland. Other specialist are missing the next game from their injuries. ... they'll make their way to a tavern and hope a heritor will join them.
At least it's a perfect change to paint up a new model and I already have one in mind. And any time spend gaming with friends, even the everything turn bad in the game, is a good time for me.
It turned out to be an amazing story, entering the Grabbing Bog despite being warned - and end exactly like the stories said it would. With death...