30 May 2019

This Is Not A Test: Mutant Cannibals

Build another post apocalyptic warband. Lots of kitbashing and a bit of green stuff work done on them. You can see the wip post and bit list here.

I build this team with the This Is Not A Test - Mutant Cannibals in mind. Making a 400 BS starting warband. But these guys could also be used as scavvies in Necromunda og Ash Waste mutants.

Originally I started this warband as enemies for an inquisitor group in Inq28.
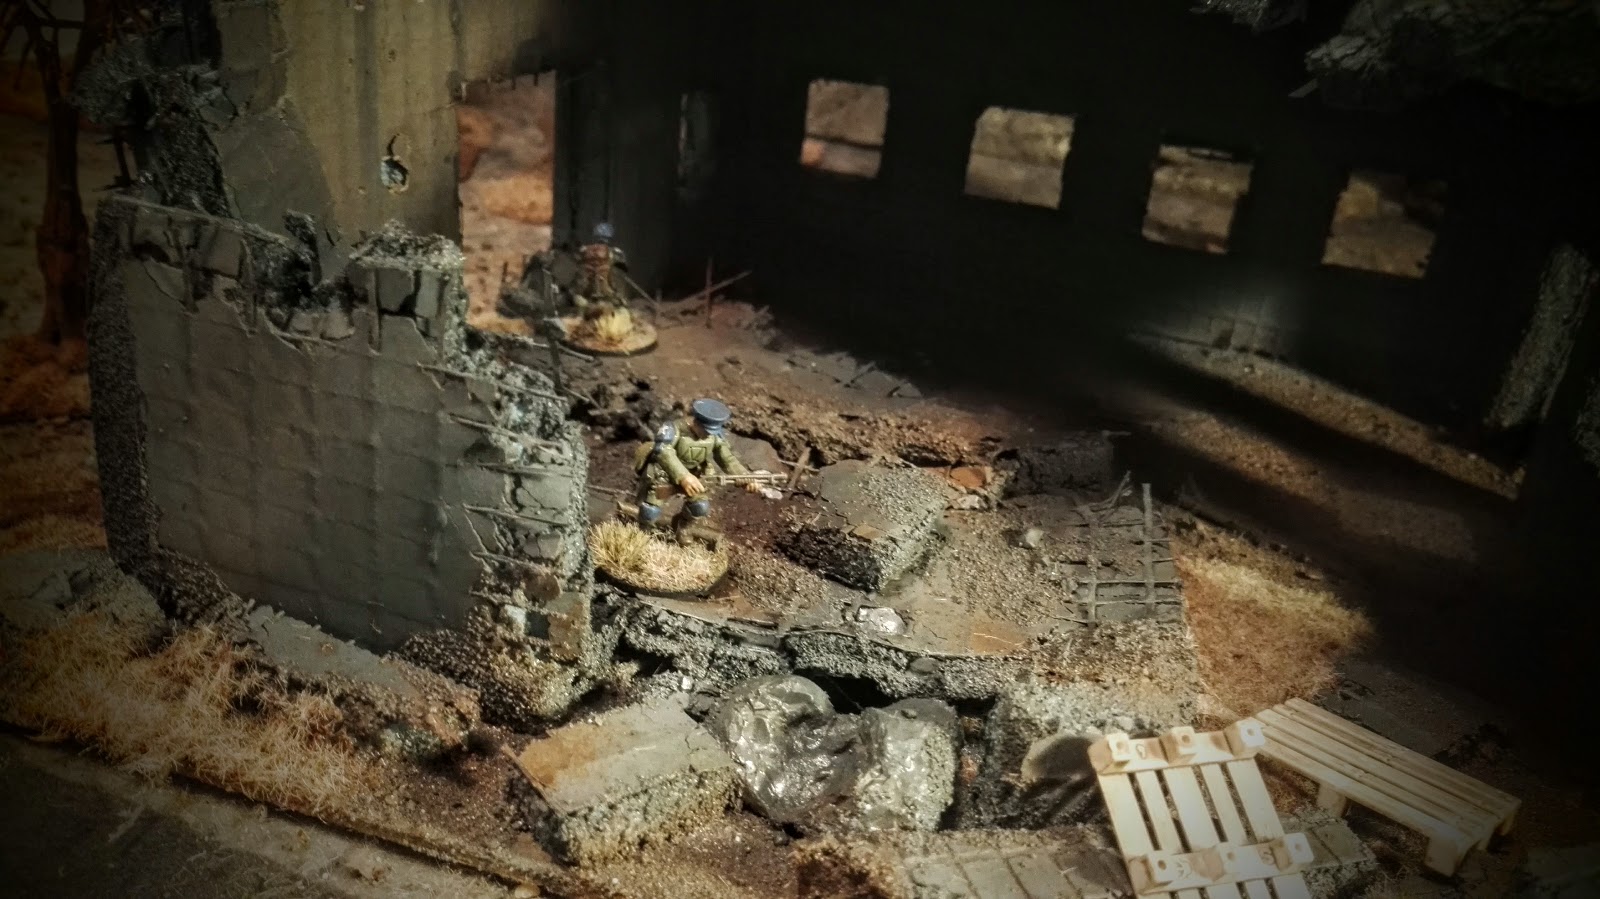
Complete Warband
The entire family of mutated freaks. Having out in a scrap yard.


Maw-maw is a leader for the warband. Armed with a meat hook rifle and an oxygen tank. This old lady is not too fit, and walking the wasteland on scavenging missions is hard. This is a modded reaper bones model.

Next to her is her First Born. The oldest and most intelligent of her children. The model is a ramshackle model, with mantic ghoul face and green stuff hood.


Youngins
Normal, not too mutated son of the family. These youngins are smart enough to operate simple firearms and weapons. On scavenging and raiding missions, these guys are the ambushers. I had sand people from Star Wars in mind when buildings these guys.

I gave them cheap and simple weapons, because it fit the theme of the warband.

This is GW Plague Monk skaven, with mantic ghoul heads and green stuff hoods.
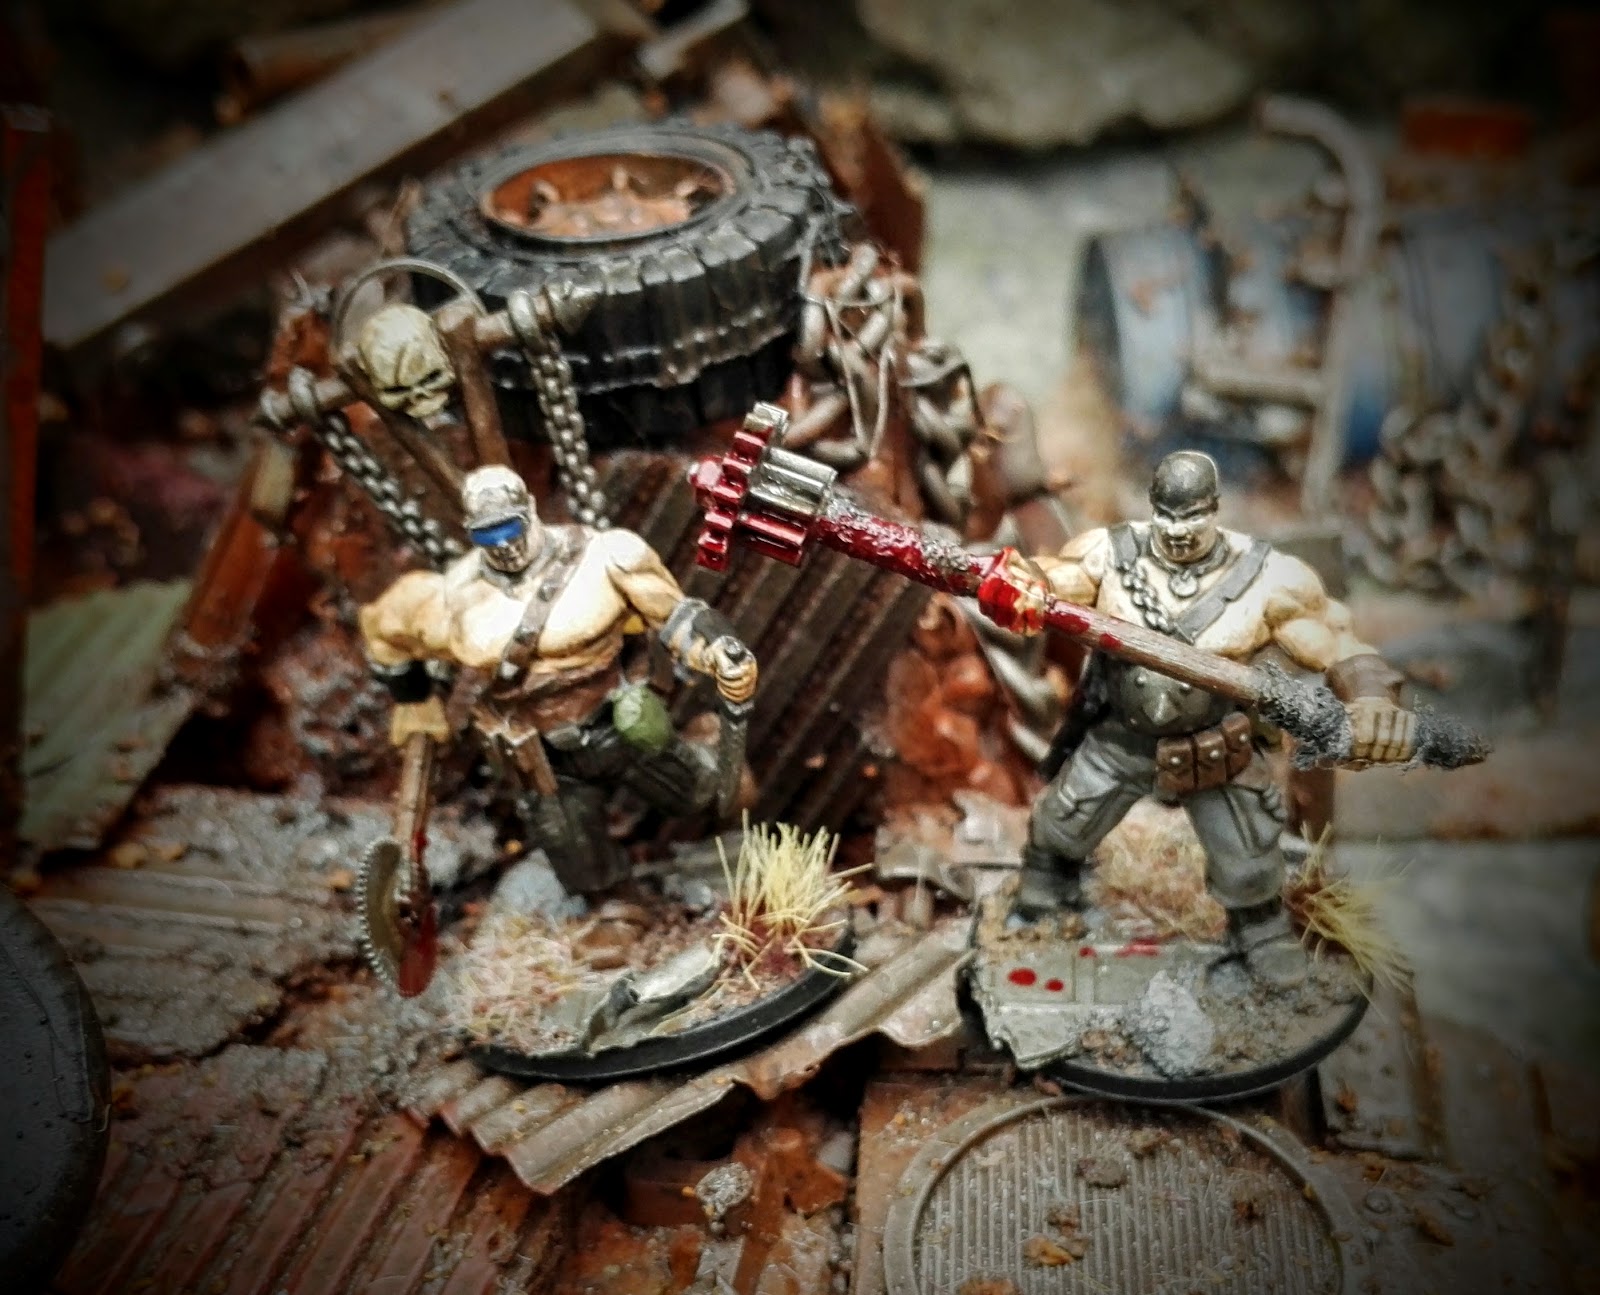


Degenerates 
When a wasteland family have a lot of children - some will turn out as feral degenerates. The savage mutants are kept caged and chained in the family hide out. They can't speak, the can't really follow a plan. They are taking on raids and released on the enemy - engaging in cannibalistic eating right away, when taking down prey.


Tiny and critter
Tiny is the largest member of the family, extremely dumb and very strong. Only added a small bag to this model, the rest is original from Ramshackle Games. The critter is the family wardog an unconverted Games Workshop chaos war hound.


Character card photos
Made my own xl character cards for TNT. This is the mug shots for those cards.


21 May 2019

Tutorial: Wedi ruined appartment block

I've already showed off my first wedi ruin. I've build another one and for that build I made sure to take a lot of photos for a step-by-step post. But first the finished building in all it's wasted glory. Rent is fairly cheap in this place.

I bought the materials for this becasue I though I could extract the XPS foam from it. But that failed completely - a very lucky accident.

Finished 1' squared building


A couple of peace keepers securing a building.


A sacrificial lamb also made for my peace keeper warband.


Step-by-step for the dead trees can be found here.


A complete wasteland setup on a 3'x4' mat. There's blog posts for everything here on the wasteland terrain hub.


Step-by-step
Here's how I'm making these buildings.

Materials

  • Wedi-board: A XPS foam material with cement sides. It's made as a water barrier when building bathrooms, tiles can be stuck directly on the boards. 
  • Woodglue / pva glue
  • Small nails
  • Stanley knife
  • Cork - mine  is from Ikea.
  • Sand
  • Cheap acrylic paints and rattle cans.


Step 1
Cut out some walls from wedi board. A new knife blade will cut right through it. I didn't use a ruler to measure the windows. I just cut them out, using the lines in the board, to make sure they're roughly equal.


Get your little helper to wack those windows with a pointy object. The dust might get your fingers itchy, so wear some gloves when pushing them out, if not using a tool.


Step 2
Make a couple of of walls like this, make a door in one or two of them. I've also made sure to cut the other walls off, to make a ruined look. More on this later.

Glue the walls to a base (i use strawberry boxes, going for a 1' foot print), and glue the walls together. Regular wood glue will work fine on this.

Use some thin small nails to keep the walls together. You can push them in with a finger or use a light dap with a hammer.


Step 3
Use some flat pliers or tongs to break all the edges of the wedi board. Rip chunks out off it. The glass fiber netting will stay in place and look like rebar iron.

Also you can add inner walls. Cut up smaller pieces of wedi and glue / nail in place. Easy interior detail.

Step 4
Using that cheap cork from Ikea, you can cut up some small detail for windows and doors. It'll do a lot to break up the big flat surfaces. I didn't measure these, just cut them by eye. wood glue will keep them in place just fine.


Step 5
Add sand to the base, some on the floors, add some stones and pieces of that broken wedi. Add some ruin details.

Step 6
Mix up some cheap acrylic paint, wood glue and water. Paint all the the blue foam areas. Walls, windows, doors and cork details. I made sure the mix was a bit runny, as it'll add nice weathering to the sides of the building. Running down the grey concrete.

Step 7
Use some cheap rattle cans to spray pain the rest of the building. Use some brown on the sanded areas. And give a bit of color play on the rest, with light sprays of various greys.


Step 8
Using a small drill bit you can quickly add some nice bullet holes on the walls, adding extra details. I added quite a lot of holes around windows, from people shooting at enemies barricaded inside.


Step 9
Last make yourself a bottle of brow wash. Just use some dark brown and black acrylic and shake it with a lot of water. I use an old ketchup bottle. Using this mix paint over the entire building. It'll add more weathering and bring an equal 'tone' to the entire build.


Step 10
Add some wasteland dead static grass to the building. Both the base and also some places inside. And done! There's a result like showed at the top.

17 May 2019

Tutorial: Jungle / woodland sprinkle

I've made my own felt mats for various games, including Frostgrave: Ghost Archipelago. It's a lot cheaper than buying neoprene mats and I can't paint them up to fit my needs.

But the mats do lack a bit of texture, especially my green mat. Despite having used multiple greens and browns. I came up with an idea for a sprinkle. Just pour this over the mat in the places where there's no terrain pieces. When the game is over I simple fold the mat and pour the sprinkle back into its box.

I use a large old candy plastic box.

Add garden debris. All dry stuff you can find. Twigs, leaves, seeds, grass. Crunch it up good in your hand. Also add small twigs you haven't crushed too much.


Add some clump foliage, static grass and flock in different colors. You can find super cheap and large bags on the ebay and aliexpress.

This is a mix of two colors green clump foliage.


I think this was listed as moss. I looks almost like hacked up green kale.


Mixed up and with different green static grass added as well.


A quick before and after shot. Really does add some easy extra to the mat. I think I'll add even more sticks and a few stones to the mix for my next game. I'll also find and dry some real moss, to quickly add large areas of extra color.

For using three minutes to mix up a big box and considering it's a 30 second yup to gather after playing - this is easy detailing.

Check out the jungle terrain here.


14 May 2019

This Is Not A Test: V8 Tribals

For the This Is Not A Test campaign, one of the players would like to a melee heavy raider warband. So I've build this Cult of the V8, Mad Max inspired gang of marauders.

Digging in the bit box, I've made the group from various bits I already had lying around

Despite being raider types. these will be using the rules presented for Tribals. For some reason it made a warband better fitting for the models.

Being made mainly from Games Workshop bits, these have an aesthetic that fits well into the Warhammer universe. I'm thinking these will be some kind of group in some Necromunda one day, perhaps in the Ash Wastes - that's pretty Mad Max already.

I also want to expand the gang with a few vehicles.

There's a WIP post from the building process here.

Painting
I've painted the guys in a darker skin tone, when painted the warpaint with watered down white and charcoal grey. For the colors on clothes I've gone for military-ish colors as well.


The leader of the warband. Made him a Cult of the V8 symbol on his warbanner and he has a giant resin force hammer. No idea if it's good in the game - but it's cool.

Base model is a chaos marauder on catachan legs.


These are the Elite and Specialists of the starting warband. Big brutes. Wanted to give them a lot of gore, as these are meant to be brutal.

Base models are chaos marauders on catachan legs.


The rank and file troopers are made from GW Pox Walkers. I've shaved off most of the nurgle infected parts - but these still look like they've lived in the wasteland. Great models to work on.


Out of the box plastic chaos warhound I had lying around. I've been using a lot of these models for Frostgrave as well.