
I bought the materials for this becasue I though I could extract the XPS foam from it. But that failed completely - a very lucky accident.
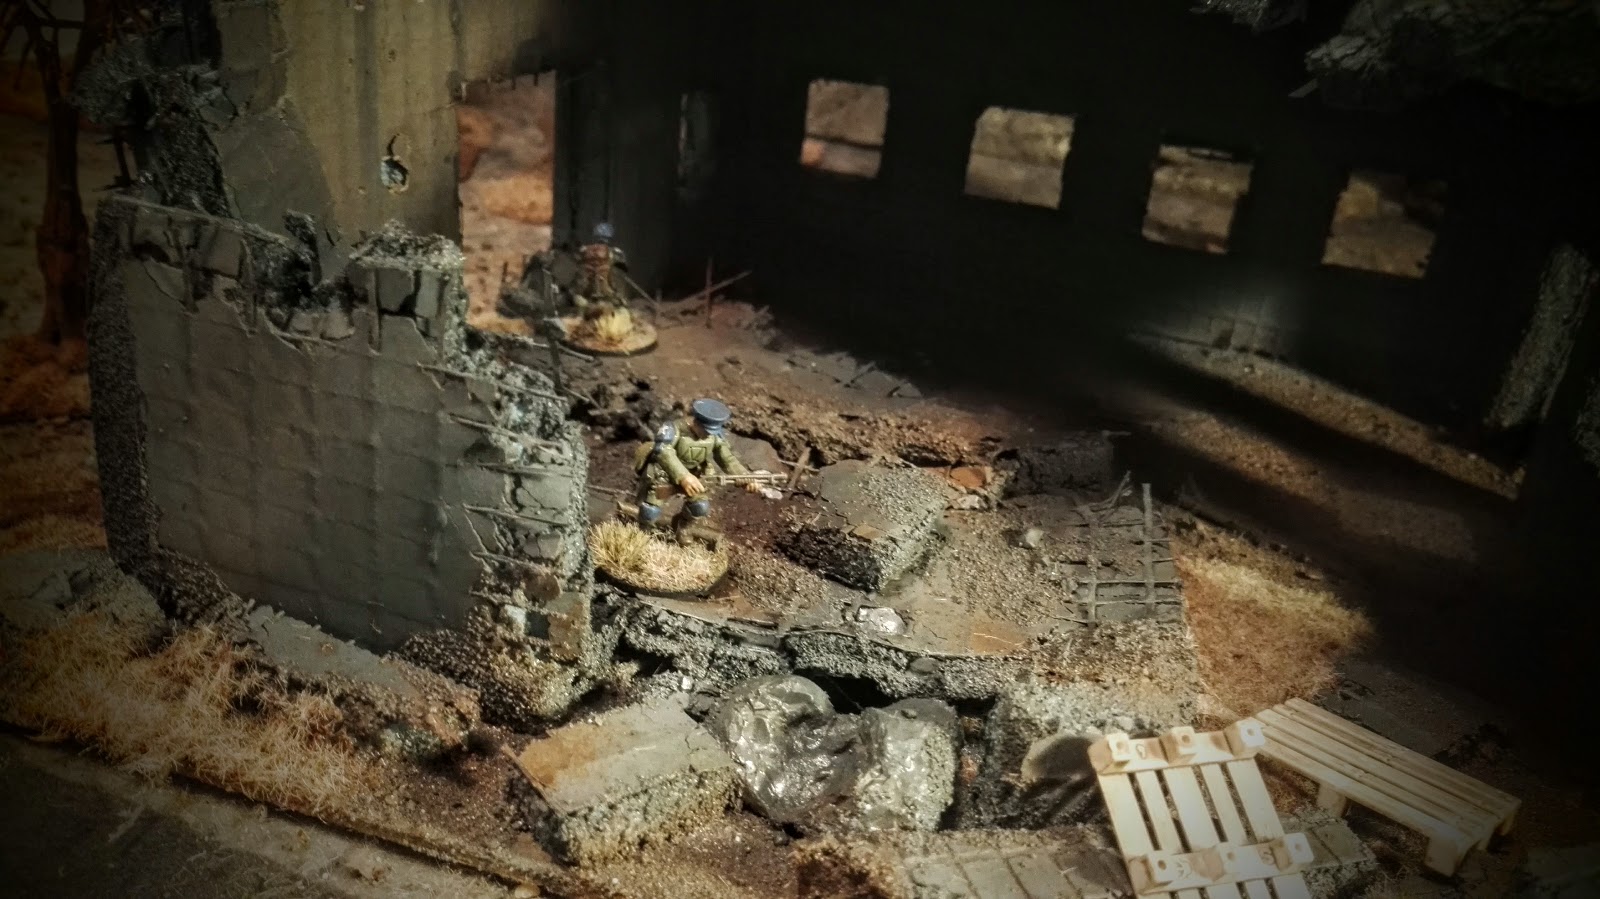
Finished 1' squared building


A couple of peace keepers securing a building.

A sacrificial lamb also made for my peace keeper warband.

Step-by-step for the dead trees can be found here.


A complete wasteland setup on a 3'x4' mat. There's blog posts for everything here on the wasteland terrain hub.

Step-by-step
Here's how I'm making these buildings.
Materials
- Wedi-board: A XPS foam material with cement sides. It's made as a water barrier when building bathrooms, tiles can be stuck directly on the boards.
- Woodglue / pva glue
- Small nails
- Stanley knife
- Cork - mine is from Ikea.
- Sand
- Cheap acrylic paints and rattle cans.
Step 1
Cut out some walls from wedi board. A new knife blade will cut right through it. I didn't use a ruler to measure the windows. I just cut them out, using the lines in the board, to make sure they're roughly equal.

Get your little helper to wack those windows with a pointy object. The dust might get your fingers itchy, so wear some gloves when pushing them out, if not using a tool.

Step 2
Make a couple of of walls like this, make a door in one or two of them. I've also made sure to cut the other walls off, to make a ruined look. More on this later.
Glue the walls to a base (i use strawberry boxes, going for a 1' foot print), and glue the walls together. Regular wood glue will work fine on this.

Use some thin small nails to keep the walls together. You can push them in with a finger or use a light dap with a hammer.

Step 3
Use some flat pliers or tongs to break all the edges of the wedi board. Rip chunks out off it. The glass fiber netting will stay in place and look like rebar iron.
Also you can add inner walls. Cut up smaller pieces of wedi and glue / nail in place. Easy interior detail.

Step 4
Using that cheap cork from Ikea, you can cut up some small detail for windows and doors. It'll do a lot to break up the big flat surfaces. I didn't measure these, just cut them by eye. wood glue will keep them in place just fine.


Step 5
Add sand to the base, some on the floors, add some stones and pieces of that broken wedi. Add some ruin details.
Step 6
Mix up some cheap acrylic paint, wood glue and water. Paint all the the blue foam areas. Walls, windows, doors and cork details. I made sure the mix was a bit runny, as it'll add nice weathering to the sides of the building. Running down the grey concrete.

Use some cheap rattle cans to spray pain the rest of the building. Use some brown on the sanded areas. And give a bit of color play on the rest, with light sprays of various greys.

Step 8
Using a small drill bit you can quickly add some nice bullet holes on the walls, adding extra details. I added quite a lot of holes around windows, from people shooting at enemies barricaded inside.

Step 9
Last make yourself a bottle of brow wash. Just use some dark brown and black acrylic and shake it with a lot of water. I use an old ketchup bottle. Using this mix paint over the entire building. It'll add more weathering and bring an equal 'tone' to the entire build.


Step 10
Add some wasteland dead static grass to the building. Both the base and also some places inside. And done! There's a result like showed at the top.
Great ruin and tutorial.
ReplyDeleteCheers Matt!
DeleteAbsolutely top notch stuff. Thanks for the walkthrough!
ReplyDeleteA pleasure doing it. Thank you.
DeleteLooks fantastic! Thanks for the tutorial
ReplyDeleteThank you Paul.
Delete