
For this dungeon project I'll do something I haven't done before, write multible blogs for the same project. From start to finish.
Design
I'll be building my dungeon on 1' tiles, that I cut out at my schools wood workshop. I'll be building 9 different tiles at a start, to make a 3'x3' board.
For modularity I'll try to make sure, that the tiles can be changed around in different ways.
First up I'll build the four corners, having massive walls in connecting on two sides. So I can put down a 2'x2' setup when they are done. When building the different tiles, I want to make sure, they all fit well together - so they wont block passenges and corridors of, when changed around.
Materials
There's a ton of different materials to use for a project like this. I'm using the cheapest XPS foam I could find. It's 5mm board, for lying beneath floor boards. I've started by gluing a foam board on both sides of cardbaord. The glue and cardboard will prevent it from breaking. Put the boards on a flat surface and let them dry under pressure from something heavy.

When the board were all dried up, I cut out long 3" strips, wanting my walls to be that height in the entire dungeon.
Building the first tile
First I drew up a pattern to mark out the walls on the board. Note the L shaped corridor in the middel. It's 4" wide, and all the four corner tiles will have a 4" gap at the center - making sure they all line up together.
Not it's time to cut up wall pieces fitting in length.

Stone work
The coolest thing about this XPS foam, is you can draw in it with a regular black pen. I want to make sure there's some free detail in the walls, so I want different designs in the various rooms. To make sure things look good together:
All outer walls will have the same design.
All corridor walls will have the same design.
I'll also make sure these are painted in the same colors.

Doors
The only expensive part of this build is gonna be the doors. I've invested in some Zombicide plastic doors, as they can open and close. Draw the outline and cut a hole fitting the doors. The zombide side door set comes with three different types, I'll save the square ones - as they can be glued together for double doors.


Dry fit and glue
When every wall is cut and the stone work is drawn into it all, it's time to glue it into place. The material I've used for base board will often warp when glue dries. So I glued every piece into place, to the floor and connecting walls as well. Placed a spare 1' board on top of it all and placed a bunch of books over the night. The pressure made sure the walls got a good fit and the board didn't warp.
Floors
I want to make this dungeon useable for a lot of different games. So despite it not being the most interesting floor pattern, it'll all be roughly 1" tiles. Close enough at least. So this will make the terrain work for sch games as Hero Quest and Dungeon Saga.
Strength
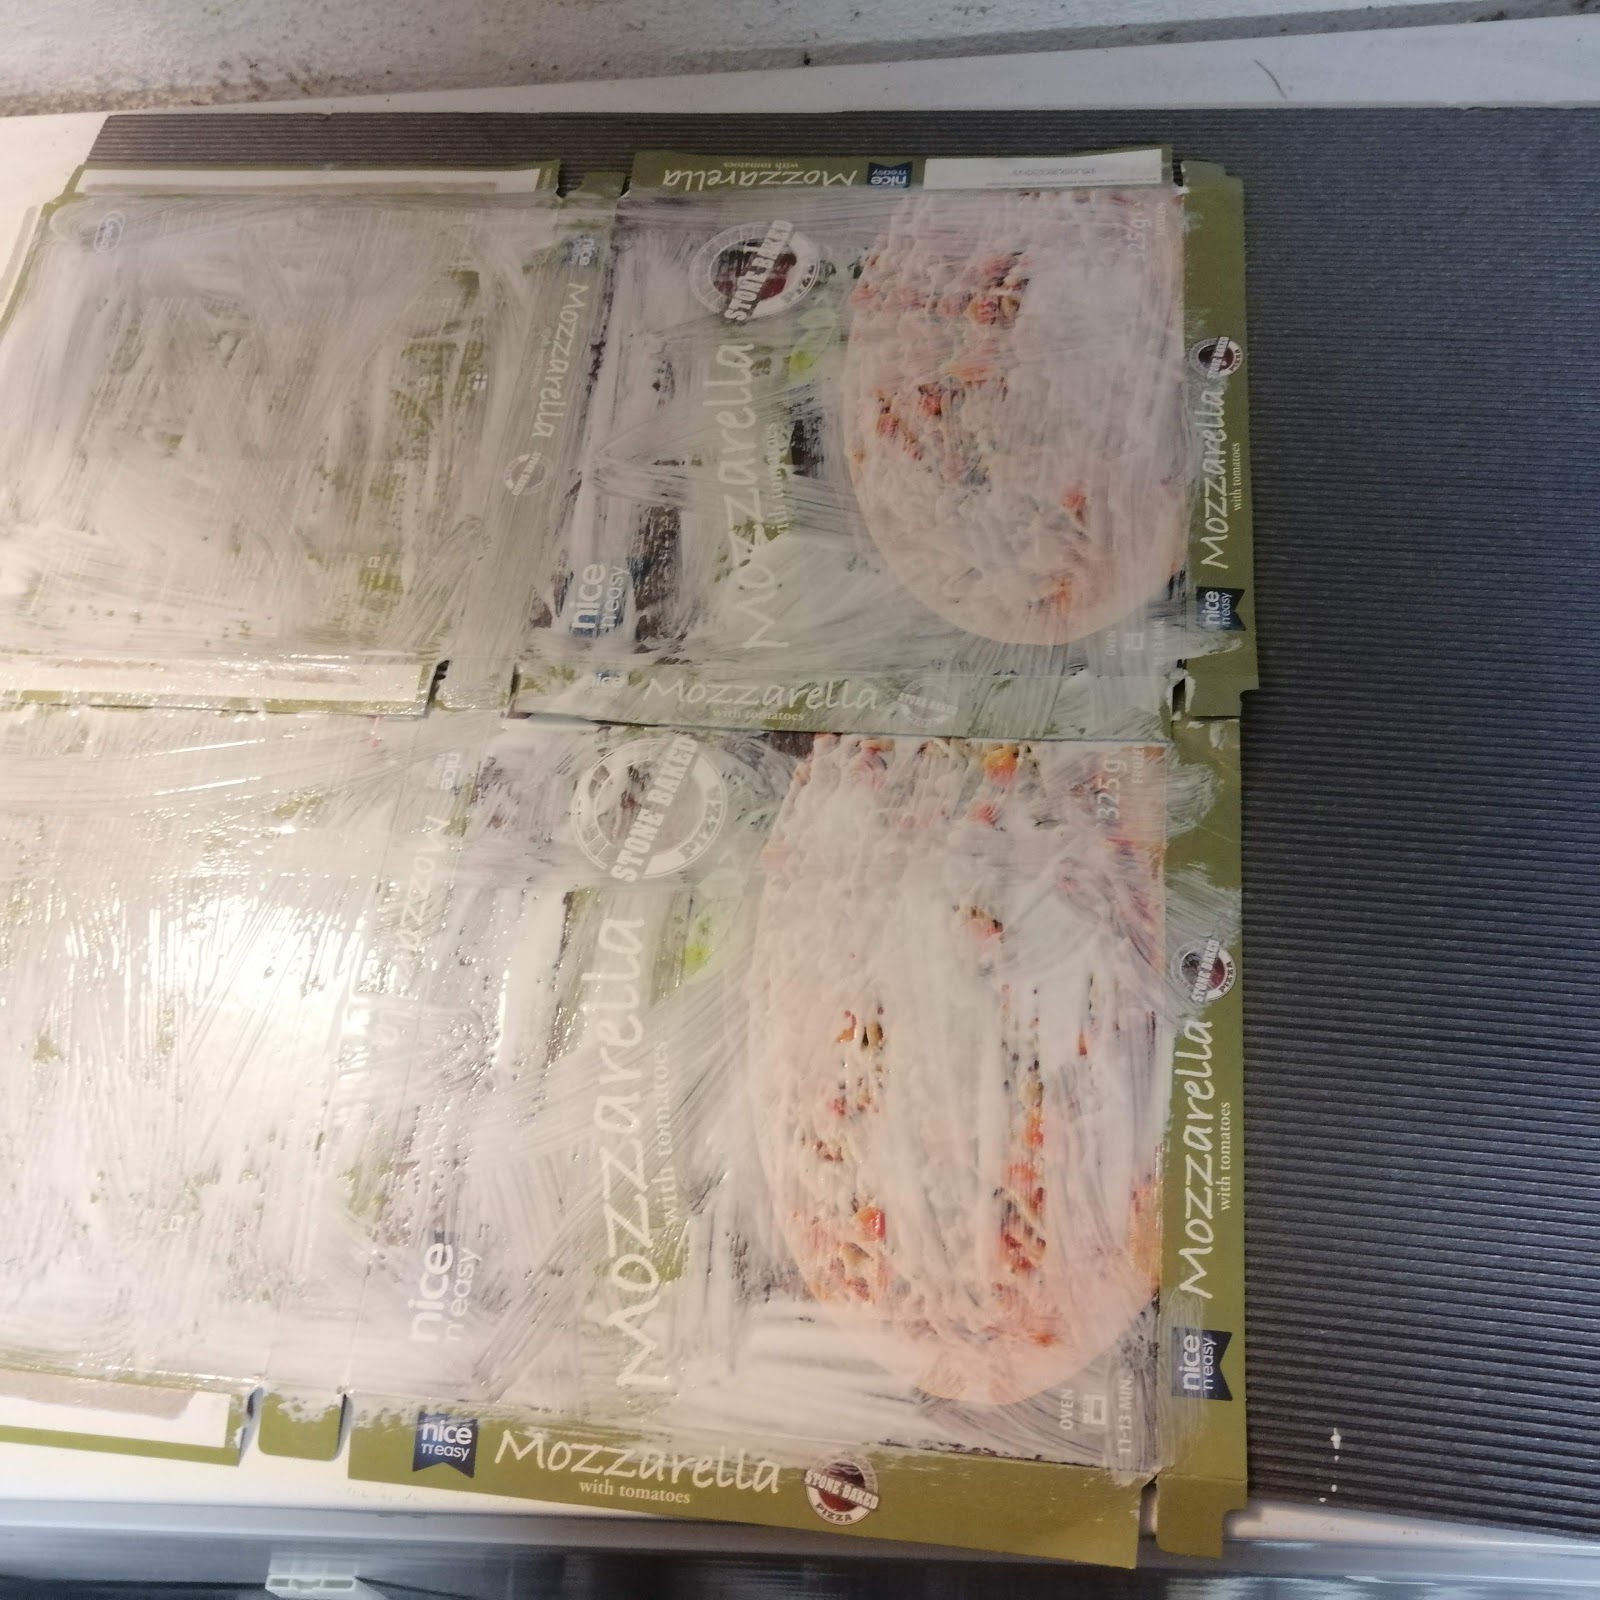
All terrain will take a beating, so I want to add as much strength as possible. First with the cardboard inside the walls. The top of the walls is ugly after first assembly, so I've added pva glue and sand to the top. It adds some nice texture (better than cut foam) and strength - as thes is where the foam will probably break.
When I get to painting, I'll mix some pva glue into the acryllic paint, adding strength again.


No comments:
Post a Comment
Note: only a member of this blog may post a comment.